 Preparing the print data
 Handling paper
 Accessing EPSON Easy Photo Print
How to Print
Preparing the print data
Handling paper
Accessing EPSON Easy Photo Print
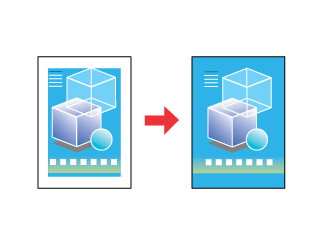
This printer allows you to print without margins on all four sides of the paper. Using EPSON Easy Photo Print included on the CD-ROM is the easiest and quickest way to create borderless photos with this printer. EPSON Easy Photo Print also includes a number of features that help you create outstanding photos.

| Note: |
|
Because this option enlarges the image to a size slightly larger than the paper size, the portion of the image that extends beyond the edges of the paper will not be printed.
When creating data in an application for print, you need to adjust the data to the size of the paper. If your application has margin settings, make sure they are set to zero before printing.
 | Make sure PictureMate is turned on. |
 | Load paper into PictureMate. Refer to the following section for details. |
 | Loading Paper |
After you have loaded the media, access EPSON Easy Photo Print.
 |
Access EPSON Easy Photo Print. For Windows XP Click the Start button, point to All Programs, point to EPSON Creativity Suite, then choose Easy Photo Print. For Windows Me, 98, and 2000 Click the Start button, point to Programs, point to EPSON Creativity Suite, then choose Easy Photo Print. |
 | Print images from EPSON Easy Photo Print. To learn how to print your photos, click the Help button to view instructions in the EPSON Easy Photo Print User's Guide. |
 | Double-click the Applications folder in Macintosh HD, EPSON folder, then EPSON Creativity Suite. Double-click the EPSON Easy Photo Print folder, then the EPSON Easy Photo Print icon. |
 | Print images from EPSON Easy Photo Print. |
To learn how to print your photos, click the Help button to view instructions in the EPSON Easy Photo Print User's Guide.
 Next |