Various Printing Options
No Margin Printing
 Available paper
 Printing data
 Paper loading
 Driver settings
 Printing
This printer allows you to print with no margin on all four sides of the paper. Follow the steps below to print with no margins.
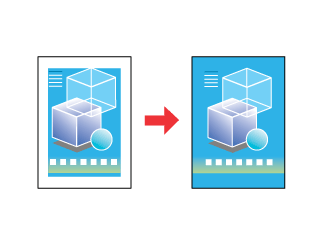
Notice that not all kinds of paper are available for this option.
Available paper
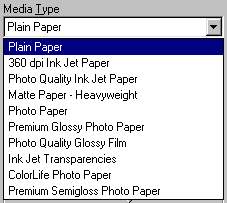
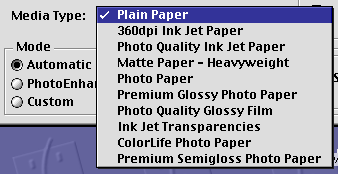
You can use roll paper and single sheets listed below with this option.
EPSON Photo Paper
EPSON Matte Paper-Heavyweight
EPSON Premium Glossy Photo Paper
EPSON Premium Semigloss Photo Paper
You cannot use this option with EPSON Iron-On Cool Peel Transfer Paper. If you use other media, your printout will be blurry or smeared.

[Top]
Printing data
Because this option enlarges the image to a size slightly larger than the paper size, the portion of the image that extends beyond the edges of the paper will not be printed.
When creating your printing data using an application, note the following:
Printing on roll paper
You need to make your data 4 mm wider than the roll paper.
Printing on single sheet
You need to fit your data to the size of paper. If your application has margin settings, make sure they are set to zero before printing.

[Top]
Paper loading
After you select a media on which to print, load it onto your printer. Refer to the appropriate section below for your chosen media.

[Top]
Driver settings
After you load the media, change the settings on your printer driver to the no-margin option. Refer to the appropriate section below for printing on a roll paper or single sheet.
Roll paper
 |
Access the printer driver.
|
 |
Select Roll Paper as the Paper Source, and the Paper Size that you want to use on the Paper menu (Windows) or Page Setup dialog box (Macintosh), and select the No Margin check box.
|


 |
Select the Media Type that you want to use on the Main menu (Windows) or Print dialog box (Macintosh).
|
 |
Select Portrait (tall) or Landscape (wide) to change the orientation of your printout.
|
 |
Change the Roll Paper Option settings at the bottom of the Paper menu as appropriate.
|

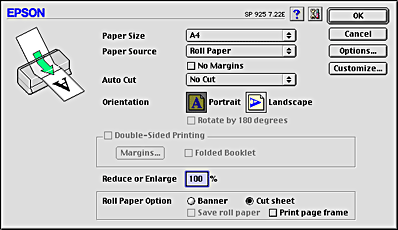
Select Cut Sheet Mode to print standard-sized data. Select Banner Mode to print longer data.
 |
Click OK to close the driver setting dialog.
|
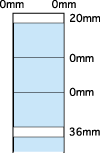
Now, you can print your data with no left or right margin.
Single sheets
 |
Access the printer driver.
|
 |
Select Sheet Feeder as the Paper Source, and the Paper Size that you want to use on the Paper menu (Windows) or Page Setup dialog box (Macintosh), and select the No Margin check box.
|


 |
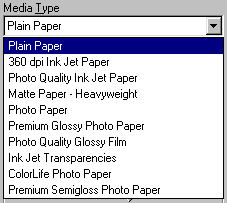
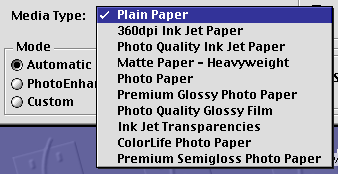
Select the Media Type that you want to use on the Main menu (Windows) or Print dialog box (Macintosh).
|
 |
Click OK to close the driver setting dialog.
|

[Top]
Printing
After finishing all above steps, start printing.
We recommend you to print once as a test before printing large quantities.

[Top]
 Available paper
 Printing data
 Paper loading
 Driver settings
 Printing
Available paper
Printing data
Paper loading
Driver settings
Printing


