 About applications in the EPSON SMART PANEL window
 Assigning an application to the Start button
Using the Buttons
About applications in the EPSON SMART PANEL window
Assigning an application to the Start button
EPSON SMART PANEL for Scanner allows you to scan and send data directly to an assigned application with a single press of the buttons ( Start/
 Copy/
Copy/ Scan) on the scanner. You can also obtain photos and documents in digital form quickly and easily. When you install the scanner software, the EPSON SMART PANEL is also installed at the same time. For details, refer to the EPSON SMART PANEL for Scanner documentation.
 | Note: |
| For information on the EPSON SMART PANEL for Scanner installation, refer to the Startup Guide. |
There are two modes offered by Scan Assistant:
Photo Scan Assistant helps you achieve the best results in scanning color documents such as photos and magazines; this mode is used in applications such as Scan to E-mail, Scan to Application, and Scan for Creativity.
Document Scan Assistant helps you scan documents for processing by the optical character recognition (OCR) software; this mode is used in Scan to OCR.
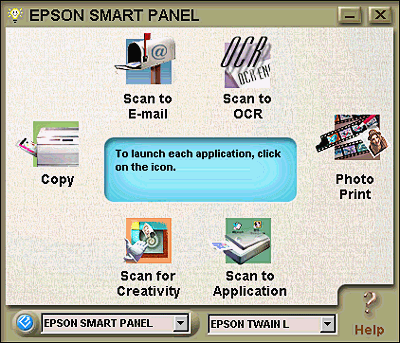
The EPSON SMART PANEL window contains the following applications:
These applications can access your scanner, which means by clicking an application's icon on the EPSON SMART PANEL window, you can use the scanner to scan and then send data directly to the application.
In addition, you can assign any of the above applications to the  Start button on the scanner. This makes scanning and then sending data to the assigned application even simpler. All you need to do is press the
  Start button.

 | Note: |
The application currently assigned to the  Start button has the Start button icon added to its application icon. Start button has the Start button icon added to its application icon.
|
Use this application to turn your scanner into a digital copy machine. The application looks like a real copy machine, yet its functions are far more powerful and flexible than the conventional copy machines. For details, refer to the EPSON SMART PANEL for Scanner documentation.

 | Note: |
By default, this application has been assigned to the  Copy button. For details, see Using the Copy Button to Copy. Copy button. For details, see Using the Copy Button to Copy.
|
Use this application to scan and save the result or send e-mails with your scanned image. When the following Photo Scan Assistant dialog box appears, you can change the settings. For details, refer to the EPSON SMART PANEL for Scanner documentation.

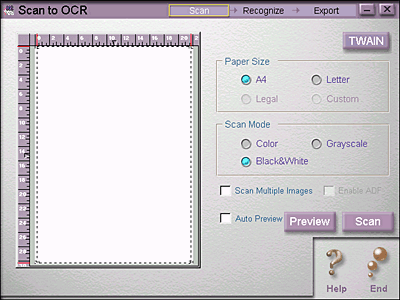
Use this application to scan and convert images to text. The converted text can be saved or sent to a word processing application. When the following Document Scan Assistant dialog box appears, you can change the settings. For details, refer to the EPSON SMART PANEL for Scanner documentation.

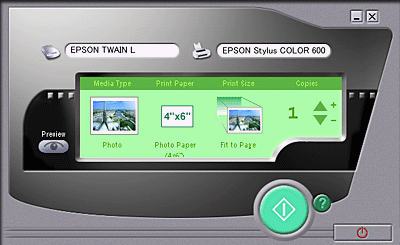
Use this application to scan and then print images as photos. You can print in various sizes, or place several photos on the same page. You can also create collages or print several versions of the same image easily. For details, refer to the EPSON SMART PANEL for Scanner documentation.

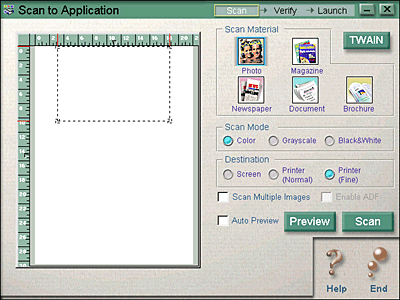
Use this application to scan and send images to an application. When the following Photo Scan Assistant dialog box appears, you can change the settings. For details, refer to the EPSON SMART PANEL for Scanner documentation.

This application can be used only if Adobe® PhotoDeluxe® is installed. When the following Photo Scan Assistant dialog box appears, you can change the settings. For details, refer to the EPSON SMART PANEL for Scanner documentation.

 | Note: |
By default, this application is assigned to the  Scan button. For details, see Using the Scan Button to Scan. Scan button. For details, see Using the Scan Button to Scan.
|
To assign an application in the EPSON SMART PANEL window to the  Start button on the scanner, follow the steps below.
 | Click the EPSON SMART PANEL for Scanner icon on the task bar to start EPSON SMART PANEL for Scanner. |
 | Select an application from the EPSON SMART PANEL list box. |
The selected application is assigned to the  Start button.
 Previous |
 Next |