Using EPSON Smart Panel
Applications in the EPSON Smart Panel Window
 RePrint Photos
 Scan and Save
 Scan to P.I.M. File
 Copy Center
 Edit Text
 Business Card
 Scan for Creativity
 Scan to Application
 Scan to E-mail
 EPSON Photo Site
 Scan to PDA
The EPSON Smart Panel window contains various applications. See the following section about the applications available.
By clicking an applications icon, you can use the scanner to scan and then send data directly to the application. For details, refer to the EPSON Smart Panel online help.
In addition, you can assign any of the available applications to the  Start button on the scanner. See Assigning an Application in the EPSON Smart Panel Window for details. This makes scanning and then sending data to the assigned application even simpler. All you need to do is press the
  Start button on the scanner.
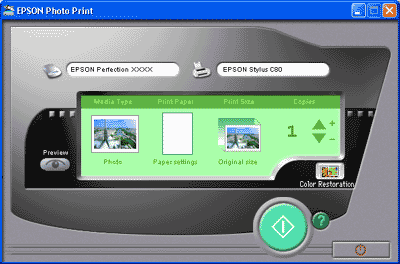
RePrint Photos
Use this application to scan and then print images as photos. You can print in various sizes, or place several photos on the same page. You can also create collages or print several versions of the same image easily. When you launch this application, the following screen appears.

[Top]
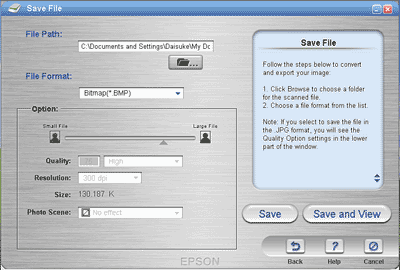
Scan and Save
Use this application to scan, convert, and then save an image to a specific folder. When you launch this application, the image is scanned from EPSON Scan and displayed in the Verify Assistant dialog box. Click Next and the following dialog box appears.
 |
Note:
|
 | |
To scan with including PRINT Image Matching information in the resulting image, use the Scan to P.I.M. File feature instead.
|
|

[Top]
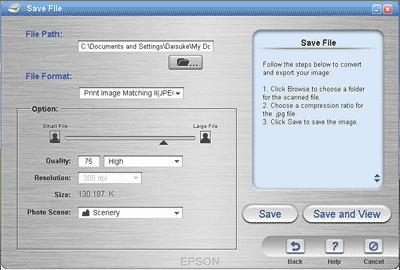
Scan to P.I.M. File
Use this application to scan and convert an image using the PRINT Image Matching standard, and then save the scanned image to a specific folder. You can also add various color effects to the scanned image. When you launch this application, the image is scanned from EPSON Scan and displayed in the Verify Assistant dialog box. Click Next and the following dialog box appears.
 |
Note:
|
 | -
To scan without including PRINT Image Matching information in the resulting image, use the Scan and Save feature instead.
|
|

[Top]
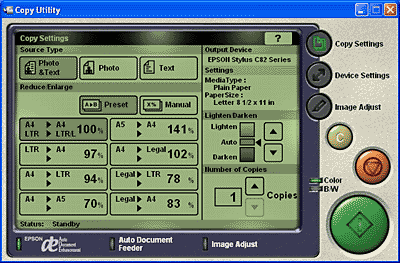
Copy Center
Use this application to turn your scanner into a digital copy machine. The application looks like a real copy machine, yet its functions are far more powerful and flexible than the conventional copy machines. When you launch this application, the following screen appears.

[Top]
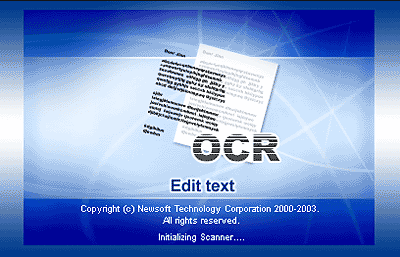
Edit Text
Use this application to scan and convert images into text. The converted text can be saved or sent to a word processing application. When you launch this application, the following screen appears.

[Top]
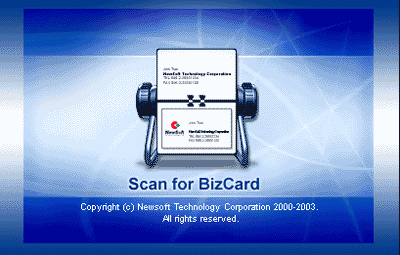
Business Card
Use this application to scan business cards and then convert the images into text for organizing the business cards in the application. When you launch this application, the following screen appears.
 |
Note:
|
 | |
If Presto! BizCard is not installed, the Business Card icon appears dimmed and is not available.
|
|

[Top]
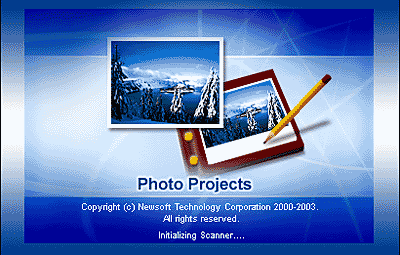
Scan for Creativity
Use this application to scan photos and then send the scanned image(s) to ArcSoft PhotoImpression. When you launch this application, the following screen appears and the image is scanned from EPSON Scan. Then the scanned image is displayed in the Verify Assistant dialog box. Click Next and the scanned image is sent to ArcSoft PhotoImpression.
 |
Note:
|
 | |
If ArcSoft PhotoImpression is not installed, the Scan for Creativity icon appears dimmed and is not available.
|
|

[Top]
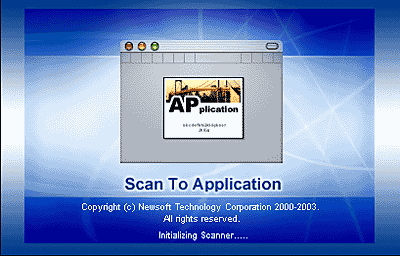
Scan to Application
Use this application to scan and then send images to a desired application for further editing. When you launch this application, the following screen appears and the image is scanned from EPSON Scan.

[Top]
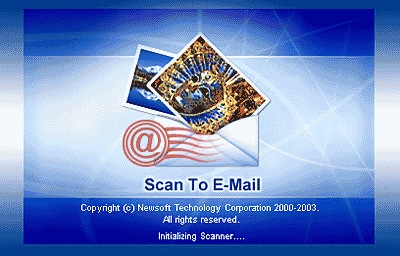
Scan to E-mail
Use this application to scan an image and send an e-mail message with your scanned image attached. When you launch this application, the following screen appears and the image is scanned from EPSON Scan.

[Top]
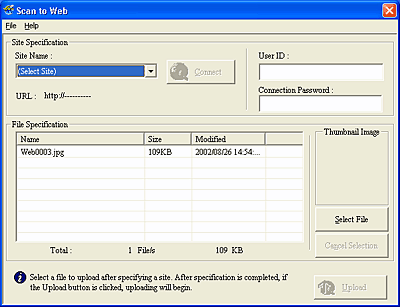
EPSON Photo Site
Use this application to scan an image using the PRINT Image Matching technology, and then upload it to the EPSON photo-sharing site. When you launch this application, the image is scanned from EPSON Scan and displayed in the Verify Assistant dialog box. Click Next and the following dialog box appears. Click Upload to upload the image.
 |
Note:
|

[Top]
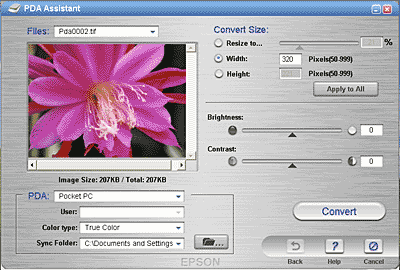
Scan to PDA
Use this application to scan and convert an image to a PDA-enabled file format. When you launch this application, the image is scanned from EPSON Scan and displayed in the Verify Assistant dialog box. Click Next and the following dialog box appears. Click Convert to export the image to the Sync folder or the specified folder.
 |
Note:
|
 | |
To view the saved images on your PDA, you must connect the PDA to your computer, then install Presto! PixExpress from the included software CD-ROM. See the Start Here poster for software installation instructions.
|
|

[Top]
 RePrint Photos
 Scan and Save
 Scan to P.I.M. File
 Copy Center
 Edit Text
 Business Card
 Scan for Creativity
 Scan to Application
 Scan to E-mail
 EPSON Photo Site
 Scan to PDA
RePrint Photos
Scan and Save
Scan to P.I.M. File
Copy Center
Edit Text
Business Card
Scan for Creativity
Scan to Application
Scan to E-mail
EPSON Photo Site
Scan to PDA
 Start button on the scanner. See Assigning an Application in the EPSON Smart Panel Window for details. This makes scanning and then sending data to the assigned application even simpler. All you need to do is press the
  Start button on the scanner.


