 Using the Full Preview button
 Using the Zoom Preview button
 Using a marquee
 Using the Auto Locate button
Advanced Scanning / Using the Preview Window
Using the Full Preview button
Using the Zoom Preview button
Using a marquee
Using the Auto Locate button
With a preview image in the Preview window, you can see the effects of settings you made and make additional image adjustments. You can also use a marquee (frame) to scan only selected portions of an image.
|
Preview window |
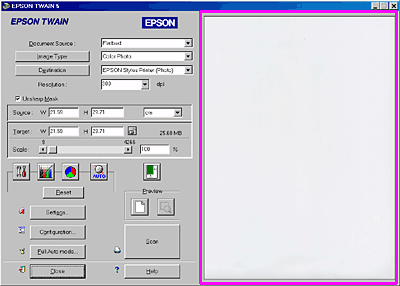 |
 | Note: |
| See Making Configuration Settings for information about how to control preview image quality. |
After selecting Document Source, Image Type, and Destination, click the  Full Preview button to start prescanning and preview the entire image.
A preview image appears in the Preview window. When the Automatic Preview check box in the Configuration dialog box is selected, a preview image is automatically displayed after EPSON TWAIN starts. See Making Configuration Settings.
 | Note for Perfection 1650 users: |
| Make sure the Fast Preview check box is cleared in the Configuration dialog box to ensure a high-quality preview. |
To preview a part of the image that is already in the Preview window, click and drag the mouse over the area you want to see in detail, and click the  Zoom Preview button. For more information on selecting portions of images, see Using a marquee.
 | Note: |
When previewing images of negatives using a film holder in the Preview window, the color may appear odd as the frame of the film holder is perceived as white, causing your scans to appear darker. To see the correct color, click and drag the mouse over an area, then click the  Zoom Preview button. Zoom Preview button.
|
A marquee is a frame which you draw around a portion of a previewed image to select it. You can use a marquee to select an area you want to enlarge using the  Zoom Preview button.
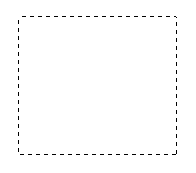
To create a marquee, move the pointer over the image in the Preview window. The pointer becomes a set of cross-hairs. Hold down the mouse button and drag the cross-hairs over an area of the image, then release the mouse button to create the marquee.
The frame around the marquee appears as a moving dotted line, indicating that it is active, which means that it can be resized.
The point where you first clicked is anchored, but the rest of the frame is sizable and movable.
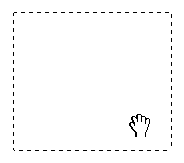
When the mouse pointer is placed within the marquee (the frame of the selected image area), it changes to a hand. You can click and drag the marquee anywhere in the Preview window. If you drag a hand while pressing the Shift key, the marquee will be limited to vertical or horizontal movement.
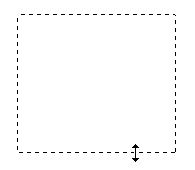
When the mouse pointer is placed on the edge of the marquee, it changes to an arrow allowing you to re-size the marquee. If you drag an arrow while pressing the Shift key, the marquee will be resized proportionally.
To remove or delete a marquee, double-click the Preview window.
Click the  Auto Locate button in the Manual mode window to cause the scanner to automatically locate and select the target image. The image appears without white borders in the Preview window.
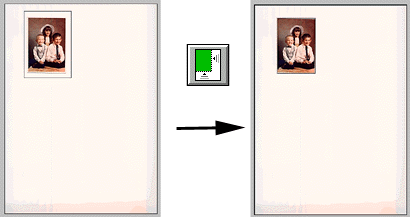 |
|
|
entire preview area |
located image |
If a document contains more than one image, select a target image by creating a marquee on the image and clicking the  Auto Locate button. The selected target image is located automatically.
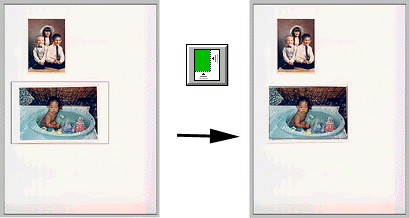 |
|
|
target image and other image |
located and |
 | Note: |
| Create a marquee only on the target image. If the marquee covers other images as well, the Auto Locate feature does not work as expected. |
 Previous |
 Next |