Using Options / Using the Transparency Unit
Installing the Transparency Unit
Follow the steps below to install the Transparency Unit.
 |
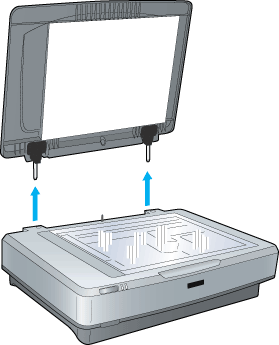
Make sure the scanner is turned off, and then unplug the power cord from the scanner.
|
 |
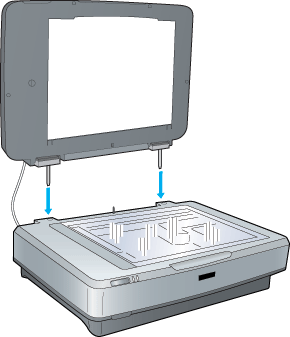
Align the pins of the unit with the holes of the scanner, and then lower the unit until it rests securely on the scanner with the pins in the holes.
|
 |
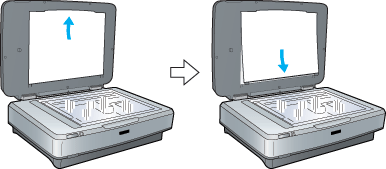
Remove the reflective document mat from the Transparency Unit as shown below.
|
 |
Place the transparency guide on the scanner's document table as shown below.
|
 |
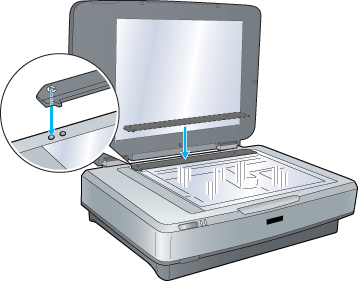
Close the Transparency Unit.
|
 |
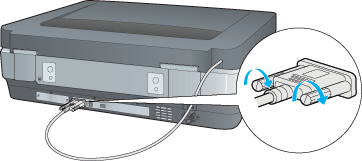
Connect the Transparency Unit's connector to the option connector at the back of the scanner.
|
 |
Caution:
|
 | |
Do not put heavy objects on the Transparency Unit; otherwise the unit may be damaged.
|
|
To scan slides or strips of negative or positive films, see the following section.
Film holders
Four film holders for scanning film are included with this unit. To use these film holders, see the appropriate topic in Setting and Placing Films.


[Top]


