 |
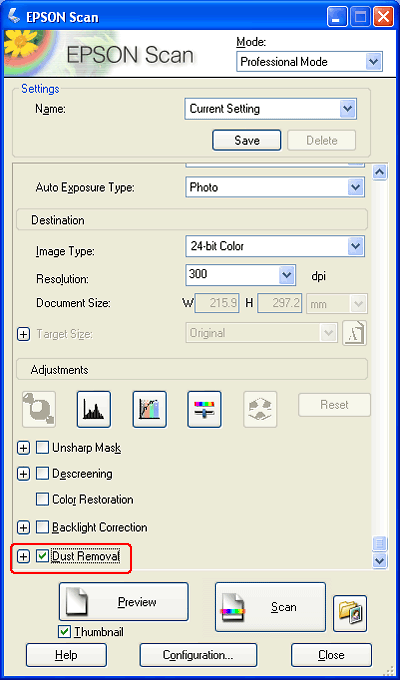
Using the Dust Removal feature in Epson Scan, you can virtually “clean” the dust marks from your originals as you scan them.
|
Original image
|
Dust Removal applied
|
|

|

|
 |
Note: |
 |
|
Before scanning your originals, carefully remove any dust that you can see on them.
|
|
Follow these steps to remove dust marks using Epson Scan.
 |
Start Epson Scan. See one of these sections for instructions.
|
 |
When the Epson Scan window appears, do one of the following, depending on the currently selected scan mode.
|

 |  |
Note: |
 |
Select the basic settings for the type of your original(s), then select the destination setting for the way you will use your image(s). See Selecting Basic Settings.
|
 |
Do one of the following to select the Dust Removal option.
|


 |  |
Note: |
 |  |
|
The result of the dust removal does not appear in the image in the Preview window. You must scan the image first.
|
|
 |
Click the Scan button to scan and remove dust marks in your image(s).
|
What happens next depends on how you started Epson Scan. See Finishing the Scan.
|  |


 (Mac OS X) button next to the option and select a setting in the Level list.

