 |
 |
|
||
 |
||||
Scanning Using Epson Scan (for Mac OS X)
Office Mode lets you quickly scan text documents without previewing your image.
This section introduces scanning methods in Office Mode. You can use other modes as necessary.
See help for details on Epson Scan.
 Note:
Note:|
Do not use the Fast User Switching function while using your scanner.
|
 |
Place your original(s).
|
 |
Start Epson Scan.
|
 |
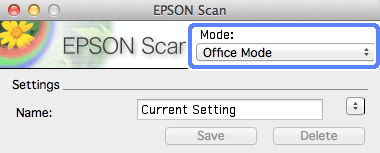
Select Office Mode in the Mode list.
|

 |
Select the Document Source setting.
|
 |
Select the size of your original as the Size setting.
|
 |
Select the Image Type setting.
|
 |
Select the Resolution setting.
|
 |
Click Preview.
|
The Preview window appears and displays your image.
 Important:
|
Automatic Document Feeder (ADF):
The first page is ejected and a preview image is displayed in the preview window. Reload the ejected page into the ADF and then scan. |
 |
Adjust brightness, and other image quality settings.
|
See help for details on Epson Scan.
 |
Click Scan.
|
 |
In File Save Settings window, select the Type setting and click OK.
|
 Note:
Note:|
If the Show this dialog box before next scan check box is cleared, the Epson Scan starts scanning immediately without displaying the File Save Settings window.
|
The scanned image is saved to the folder you specified.
