 |
 |
|
||
 |
||||
Watermark Printing (For Windows Only)
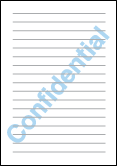
Watermark printing allows you to print a text-based or image-based watermark on your document.

 Note:
Note:|
This feature is not available for Mac OS X.
This feature is not available with borderless printing.
The order in which ink cartridges are listed varies depending on the printer.
|
Printing the watermark
 |
Access the printer settings.
|

 |
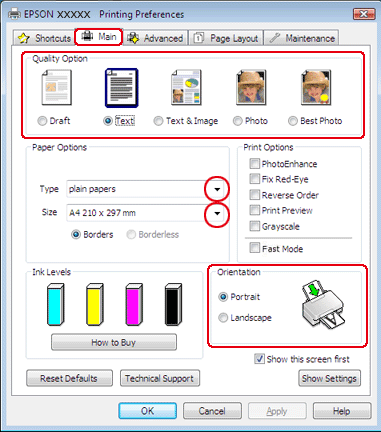
Click the Main tab, then select one of the following Quality Option settings:
|
Draft for rough drafts with reduced print quality
Text for text-only documents with higher text quality
Text & Image for higher quality documents with text and images
 |
Select the appropriate Type setting.
|
 |
Select the appropriate Size setting.
|
 |
Select Portrait (tall) or Landscape (wide) to change the orientation of your printout.
|
 |
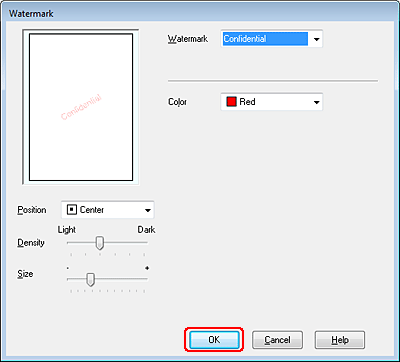
Click the Page Layout tab, choose the desired watermark from the Watermark list, then click Settings.
|

If you want to create your own watermark, see the online help.
 |
Specify the settings you want for the watermark. You can change the position and size of the watermark by dragging the image within the preview window.
|

 |
Click OK to return to the Page Layout window.
|
 |
Click OK to close the printer settings window.
|
After completing the steps above, print one test copy and examine the results before printing an entire job.
