
Other Information
Follow the steps below to load paper into the rear manual feed slot.
 | Turn on the printer. |
 | Slide out the output tray and the output tray extension. |
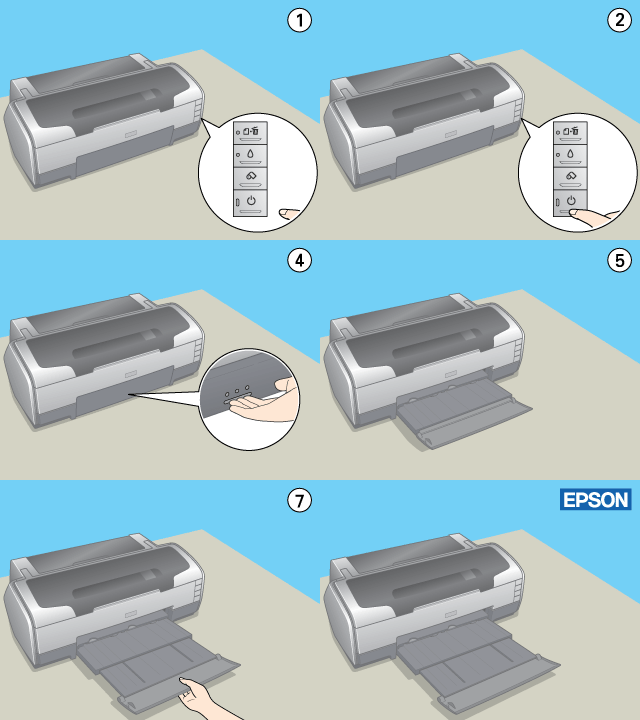
 | Remove the roll paper holder if it is attached. |
 | Make sure the rear edge guide for the rear manual feed slot is flush with the left side of the printer. |
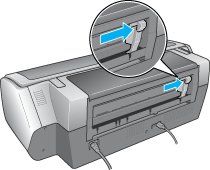
 | Attach the rear sheet guide. |
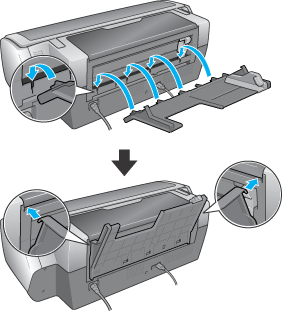
 | Slide the edge guide on the rear sheet guide to make enough space for the paper you are loading. |
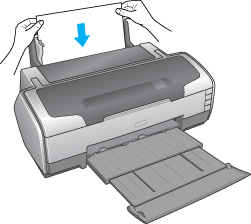
 | Using the rear sheet guide, insert the paper into the rear manual feed slot as far as it will go, flush with the right edge guide. |
 | Slide the edge guide on the rear sheet guide until it is flush with the paper. |
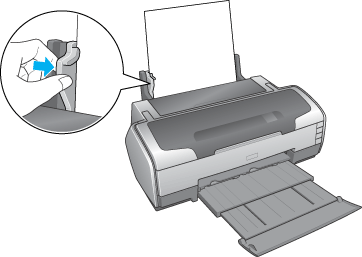
 | Hold the paper in place for about three seconds. The paper automatically feeds into the printer. |
 |
The procedure is finished when the  power light stops flashing and remains lit. power light stops flashing and remains lit.
|
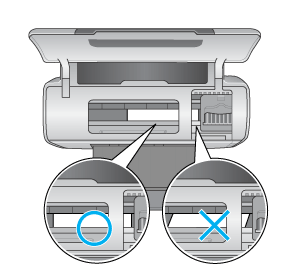
 | Open the top printer cover and make sure the paper is loaded correctly. |
| Note: |
|
|
|
If a paper error occurs, hold down theroll paper button for three seconds. The printer feeds in reverse and the paper is ejected from the rear. Press the
paper button to clear the error and reload the paper. The error also appears in the status monitor. If you press EJECT, the paper is ejected from the front or the rear of the printer.
 | Make sure that Manual - Roll is selected in the printer driver. For Windows, select Manual - Roll as the Source setting on the Main tab. For Mac OS X, select Manual - Roll for the paper size you are using (for example A4 Manual - Roll) as the Paper Size from the Page Setup dialog box. For Mac OS 9, select Manual - Roll as the Paper Source from the Page Setup dialog box. |
 Previous |
 Next |