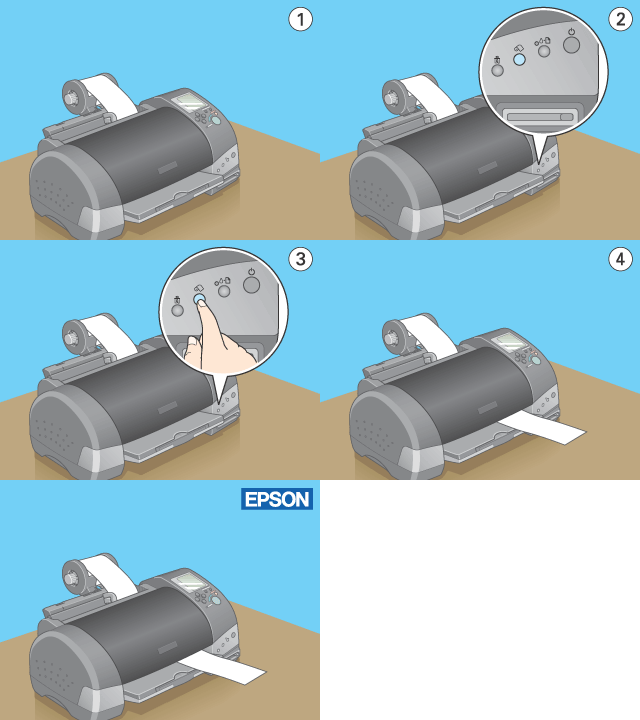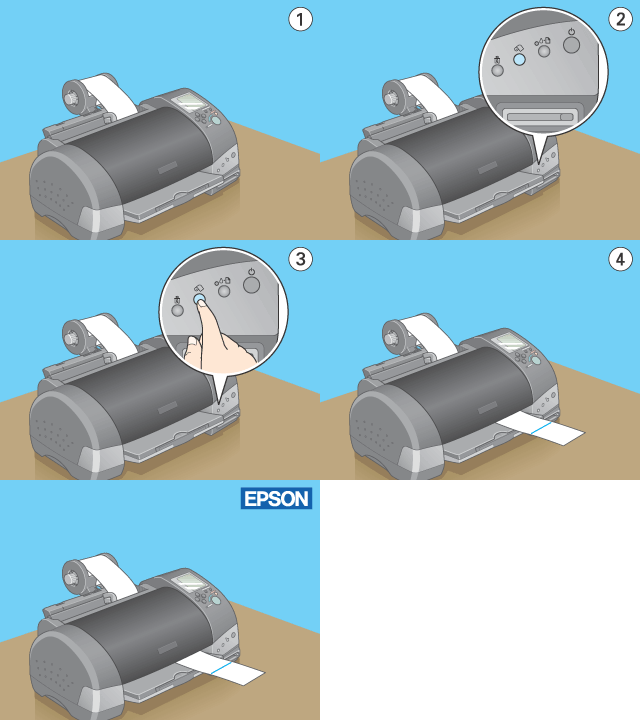
 roll paper button to feed the paper. A cutting guide line is printed on the roll paper.
How To / Using Roll Paper
Follow the directions below to remove the paper from the printer.
 |
Press the  roll paper button to feed the paper. A cutting guide line is printed on the roll paper. roll paper button to feed the paper. A cutting guide line is printed on the roll paper.
|

| Note: |
|
 | Cut the paper along the printed line. Never pull the paper as you cut it. Doing so may damage the printout. When cutting the paper, do not cut inside the line (closer to the printer) as this may cause paper feed problems. |
| Note: |
|
 |
Once you have cut the paper, hold down the  roll paper button for about 3 seconds. The paper feeds in reverse to a position where it can be easily removed from the sheet feeder at the back of the printer. If it does not feed to this position, repeat this step. roll paper button for about 3 seconds. The paper feeds in reverse to a position where it can be easily removed from the sheet feeder at the back of the printer. If it does not feed to this position, repeat this step.
|

 |
Gently remove the paper, then press the  roll paper button to clear error light. roll paper button to clear error light.
|
 Previous |
 Next |