 |
 |
|
||
 |
||||
Loading Paper
Follow these steps to load paper:
 Note:
Note:|
The illustrations in this section show the PX800FW/TX800FW Series.
|
 |
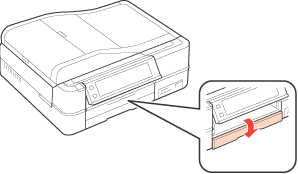
Open the front cover.
|
 Note:
Note:|
Close the output tray if it is extended.
 |
 |
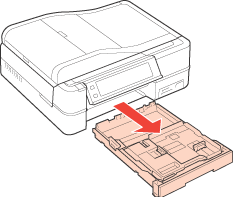
Pull out the paper cassette.
|
 |
Remove paper from the photo tray (upper tray) if any is loaded. Slide the photo tray forward and lift it up.
|
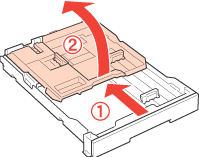
 |
Pinch and slide the edge guides to the sides of the main tray (lower tray).
|
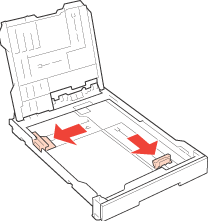
 |
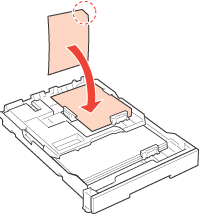
Load paper with the printable side face down.
|
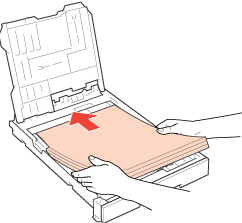
 Note:
Note:|
Align the edges of the paper before loading.
Do not load paper above the edge guides inside the paper cassette.
|
 |
Slide the edge guide against the left edge of the paper.
|
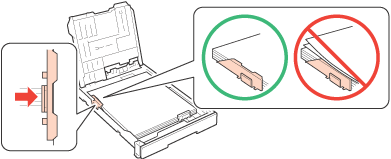
 |
Slide the edge guide to your paper size.
|
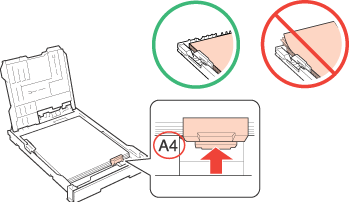
 |
Lower the photo tray.
|
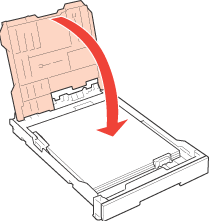
 |
Pinch and slide the edge guides to the sides of the photo tray.
|
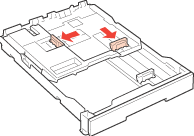
 |
Load paper with the printable side face down.
|
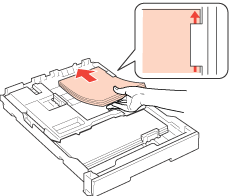
 |
Slide the edge guides against the left edge of the paper.
|
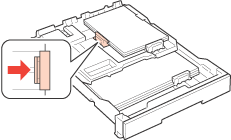
 |
Slide the edge guide to your paper size.
|
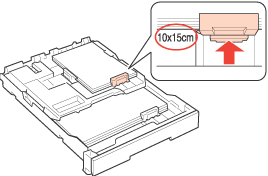
 |
Keep the cassette flat as you insert it back into the printer.
|
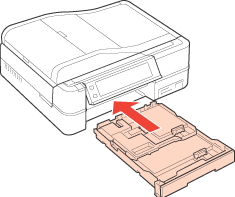
 |
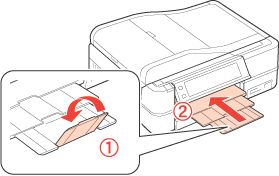
Open and extend the output tray.
|
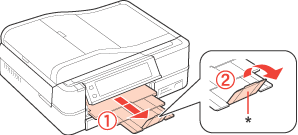
 Note:
Note:|
When using Legal size paper, lower the stopper (*).
When using Legal size or longer paper, load one sheet at a time and leave the end of the paper protruding from the paper cassette.
Leave enough space in front of the printer for the paper to be fully ejected.
Make sure the CD/DVD tray is not ejected.
Do not remove or insert the paper cassette while the printer is operating.
|
For selecting which tray to use, see the following instructions.
 See Selecting which tray to use and its loading capacities
 See Selecting which tray to use and its loading capacities
When loading a Photo Sticker sheet, place it face down as shown below. Do not use the loading support sheet that came with the Photo Stickers.
