 |
|
|||
 |
||||
Placing Documents or Photos
 Caution:
|
Do not place heavy objects on the document table glass and do not press the glass with too much force.
|
Placing Documents or Photos on the Document Table
 |
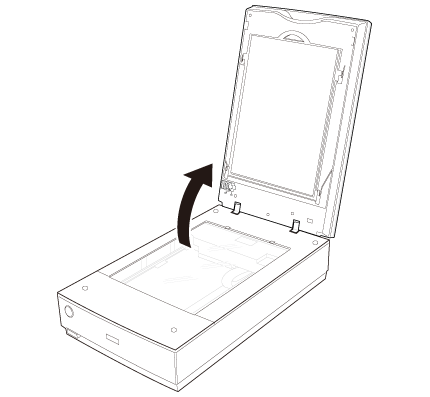
Open the scanner cover.
|
Make sure the document mat is installed inside the cover. If it is not installed, see Replacing the Document Mat for instructions.
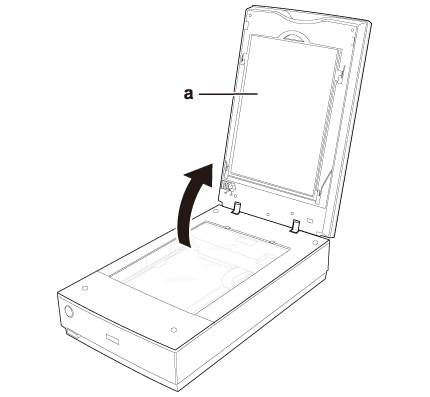
a. document mat
 |
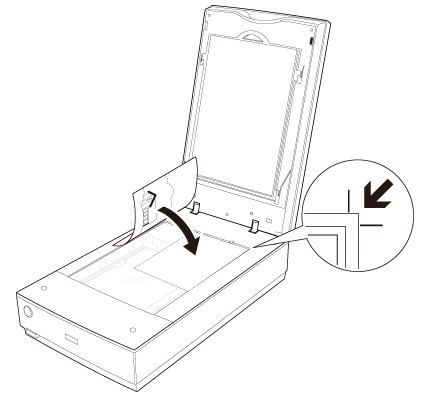
Place your document or photo face down on the document table. Make sure the upper right corner of the document or photo is against the corner of the scanner, next to the arrow mark.
|
 Note:
Note:|
If you are scanning multiple photos at once, position each photo at least 20 mm (0.8 inch) apart from the others.
|
 |
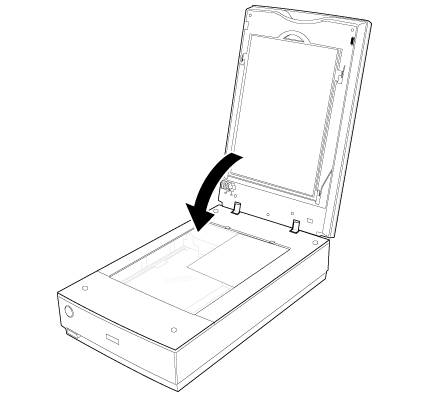
Close the scanner cover gently so that your original does not move.
|
 Note:
Note:|
Always keep the document table clean.
Do not leave photos on the document table for an extended period of time as they may stick to the glass.
|
To start scanning, see Starting Epson Scan for instructions.

Placing Large or Thick Documents
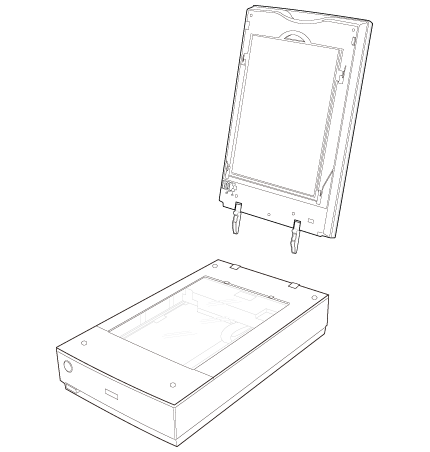
When you scan a large or thick document, you can remove the scanner cover.
|
Turn off the scanner using its
 power button. power button. |
|
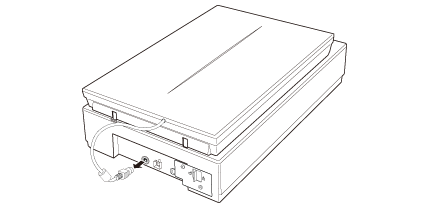
Disconnect the cover cable.
|
|
Open the scanner cover.
|
 |
Pull the scanner cover straight up and off the scanner.
|
 |
Turn on the scanner using its
power button. |
Note:|
When scanning without the scanner cover, gently press down on your document to flatten it.
|
 |
When you are finished scanning, replace the scanner cover in the reverse order that you removed it.
|