 |
 |
|
||
 |
||||
Replacing the Ribbon Cartridge
EPSON recommends using genuine EPSON ribbon cartridges (S015086). Products not manufactured by EPSON may cause damage to your printer not covered by EPSON’s warranties.
 Warning:
|
You will need to move the print head by hand to replace the ribbon cartridge. If you have just used the printer, the print head may be hot; let it cool for a few minutes before touching it.
|
 |
Make sure the printer is turned off.
|

 Caution:
|
Moving the print head while the printer is on may damage the printer.
|
 |
If the printer is connected to an electrical outlet, unplug it from the outlet.
|
 |
Lift the printer cover by its back edge and then pull it straight up and off.
|

 |
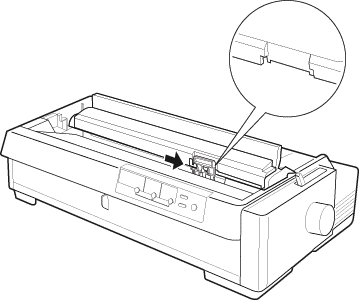
Make sure that the print head is not hot; if it is, let it cool for a few minutes before touching it. Then slide the print head to the ribbon installation position (the indented portion of the paper tension unit) by hand.
|
 Note:
Note:|
When you use the pull tractor, you can replace the ribbon cartridge even though the print head is not positioned in the ribbon installation position.
|

 |
Grasp the cartridge and pull it slightly forward and up; the ribbon guide snaps away from the metal pins behind the print head. Properly dispose of the used ribbon cartridge.
|

 Caution:
|
Do not touch the white cable inside the printer.
 |
 |
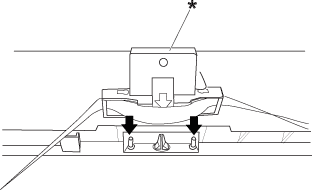
Remove the new ribbon cartridge from the package. Then insert the ribbon guide to the pin of the ribbon cartridge.
|

* ribbon guide
 |
Turn the ribbon-tightening knob in the direction of the arrow to remove any slack in the ribbon.
|

* ribbon-tightening knob
 |
Hold the cartridge with the ribbon-tightening knob up. Fit the two front notches of the ribbon cartridge over the small pegs on each side of the printer as shown below. Then lay the cartridge flat.
|

 |
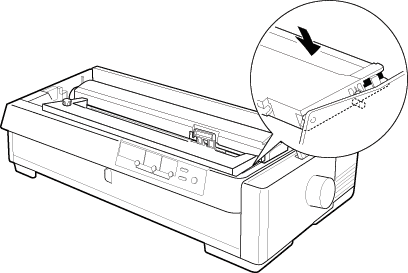
Make sure that the two rear notches of the cartridge fit over the small pegs on each side of the printer. Then gently press down the cartridge until both ends click into place.
|

 |
Lift the ribbon guide of the ribbon cartridge (A) and insert it firmly over the metal pins behind the print head (B). Make sure the ribbon is not twisted or creased and that it is in place behind the print head. Press down the guide until it clicks into place.
|

 |
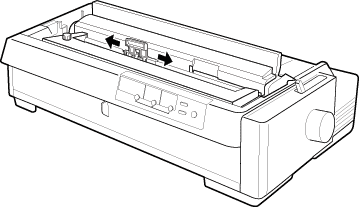
Turn the ribbon-tightening knob in the direction of the arrow to remove any slack in the ribbon as shown above. Then slide the print head from side to side to make sure it moves smoothly.
|
