 |
|

|
Scanning :
Home >
Scanning Documents or Photos
When you scan with the EPSON Creativity Suite, you first scan and save the image file using EPSON File Manager. Then you use the other project options in the EPSON File Manager window to print, attach, or import your image files.
Double-click the EPSON File Manager icon on your desktop.
Or, select Start > Programs or All Programs > EPSON Creativity Suite > EPSON File Manager.
You see a window asking if you want to see program instructions.
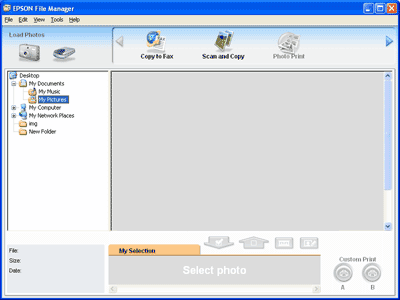
You see the EPSON File Manager window:

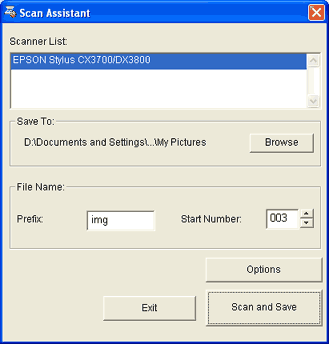
You see the Scan Assistant window.

Your image is scanned in JPEG format by default. To change the file format, click the Options button. This opens the EPSON Scan window where you can click the arrow next to the Scan button and change the file format. See Selecting File Save Settings for details.
For details on Full Auto Mode, see Using Full Auto Mode.
For instructions on using Home or Professional Mode, see Selecting Basic Settings. |


