
Using EPSON Creativity Suite
Follow the steps below to scan using the Scan and Save function.
|
| Double-click the EPSON File Manager icon on the desktop. The File Manager window appears. |
You can also start the EPSON File Manager in the way below.
For Windows users:
Click Start, point to All Programs (Windows XP) or Programs (Windows Me, 98 SE, or 2000) and then EPSON Creativity Suite, then click EPSON File Manager.
For Mac OS X users:
Double-click the Applications folder in Macintosh HD, the EPSON folder, the Creativity Suite folder, then the File Manager folder. Finally, double-click the EPSON File Manager for X icon.
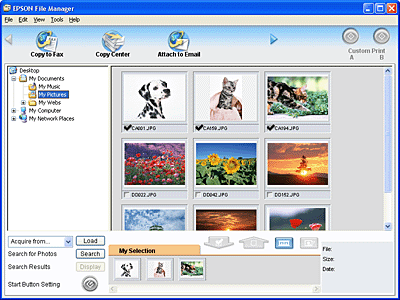
 | Select Scan and Save from the pull-down menu in the bottom left corner of the File Manager window. |

 |
Click Load. The Scan and Save dialog box appears. |
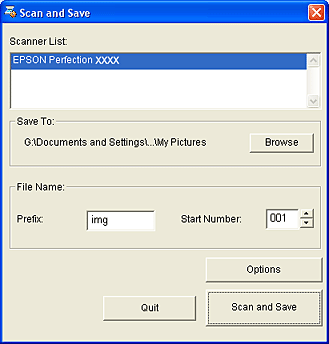
 | Select EPSON Perfection 4990 in the Scanner List. |
 | Specify the location where scanned images are saved. If you want to change the default location, click Browse and then select a desired folder. |
 | Specify a file name with an alphanumeric character string (Prefix) and a 3-digit number (Start Number). |
| Note: |
|
 | Click Scan and Save. The EPSON Scan window opens. |
| Note: |
|
 |
Click Scan. The scanner starts scanning and then saves the scanned images in the specified folder. |
 Previous |
 Next |